A polished prototype can still solve the wrong problem. That happens when a team rushes from an idea to screens without learning what people need, which constraints matter or how success should be judged.
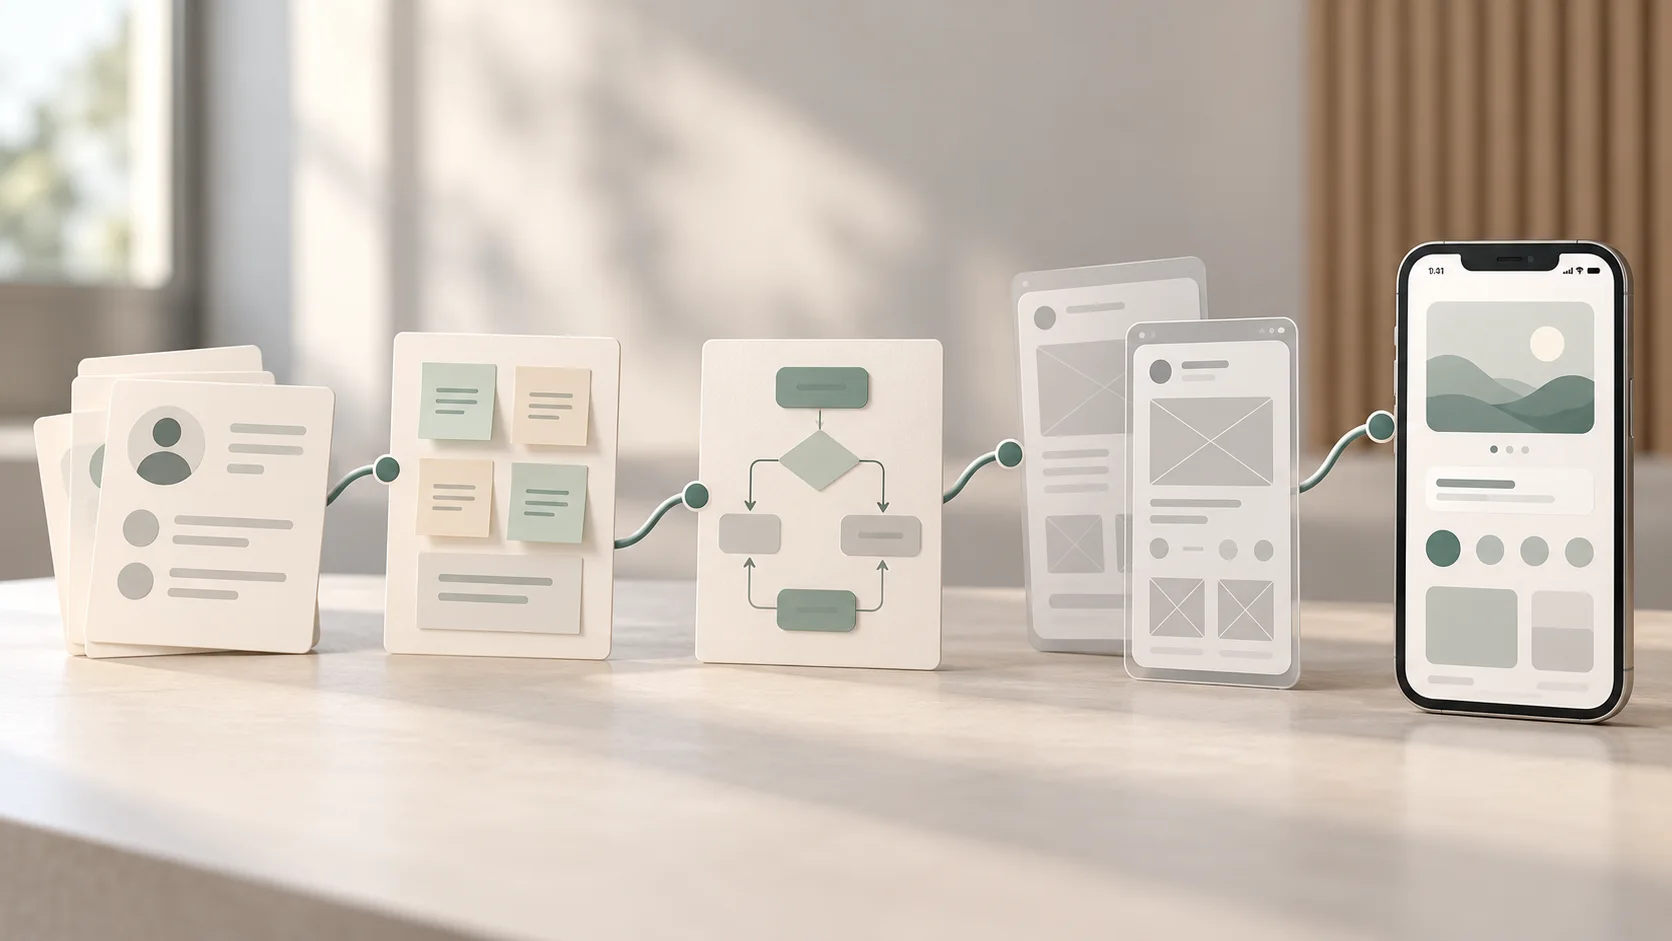
The UX design process is a structured way to move from an uncertain problem to an evidence-informed experience that can be tested and improved. It connects user research, synthesis, problem framing, ideation, information architecture, user flows, wireframes, prototypes and usability testing.
This guide is for UX beginners, students and career switchers who want to understand how those activities fit together. You will see what each stage should achieve, which output is useful and when to loop back instead of treating the process as a checklist.
The UX design process at a glance
- Define: clarify the problem, audience, outcomes and constraints.
- Research: learn about users, behaviours, context and the existing experience.
- Synthesise: turn evidence into patterns, needs and prioritised opportunities.
- Explore: generate several possible approaches before choosing one.
- Structure: map information, task steps and screen relationships.
- Wireframe: establish content hierarchy, controls and layout at low cost.
- Prototype: simulate the parts of the experience needed for evaluation.
- Test and iterate: observe use, diagnose problems and improve the design.
01 The UX process is a learning loop, not a production line
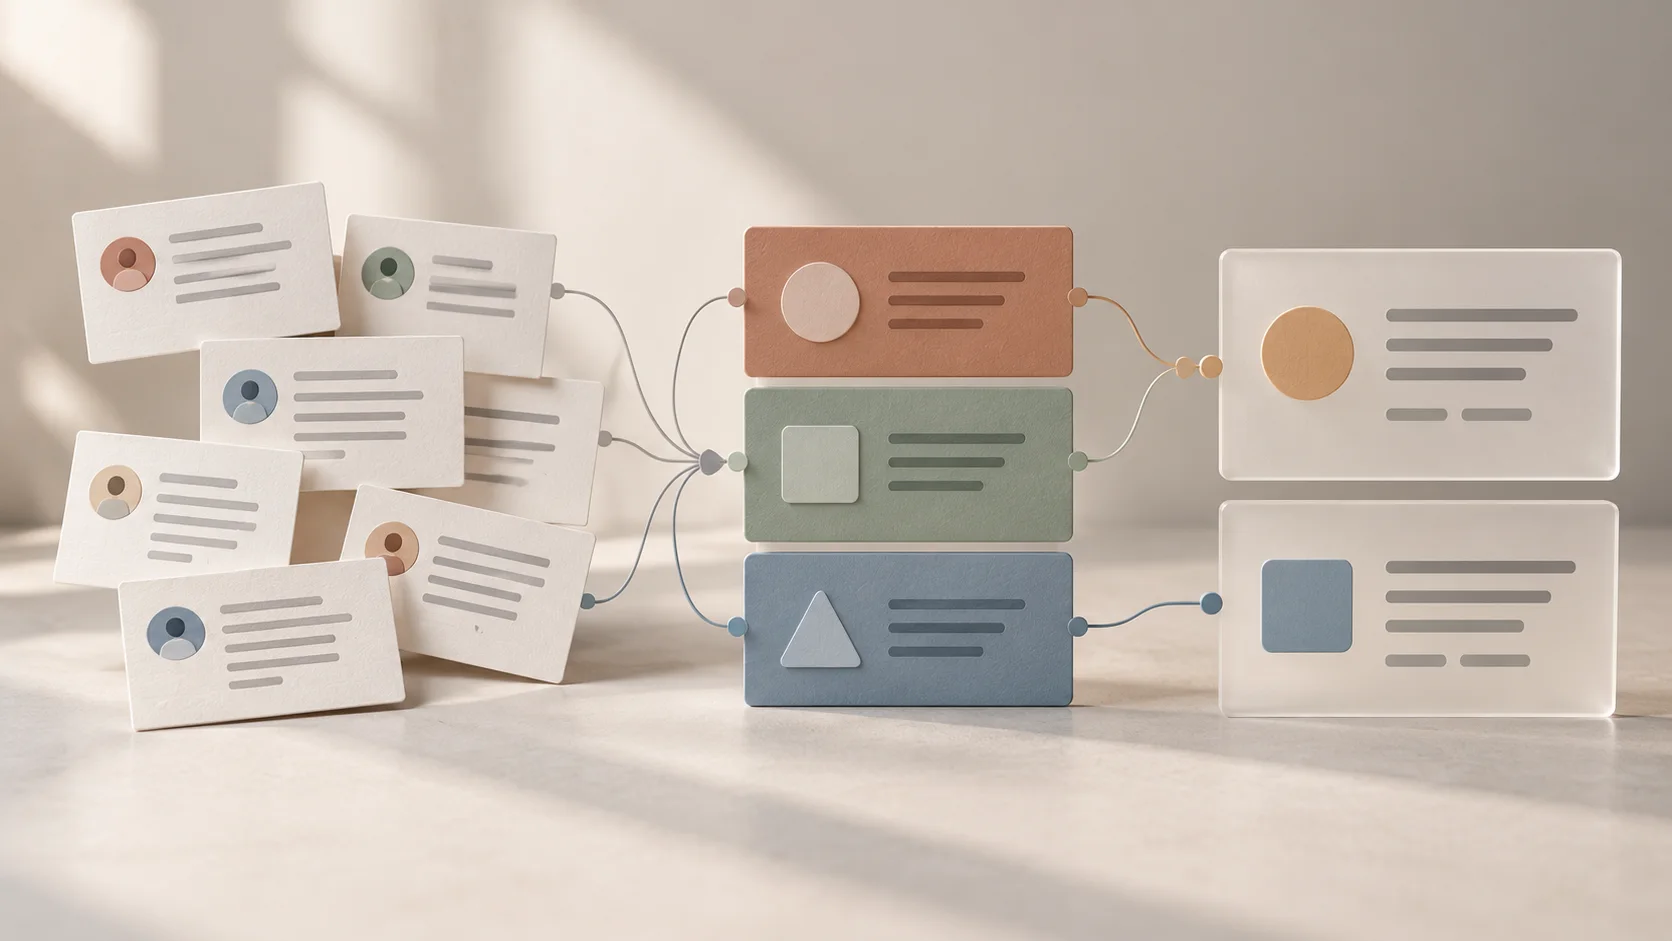
UX process diagrams often look linear because a sequence is easier to explain. Real projects are less tidy. Research changes the problem definition. A flow reveals a missing requirement. A usability session shows that the team's “obvious” label is unclear. Each finding may send the work back to an earlier decision.
That does not make the process ineffective. Its value is that it makes learning deliberate. At any point, the team should be able to answer three questions:
- What do we currently believe about the user and the problem?
- What evidence supports that belief, and where are the gaps?
- What is the least expensive useful activity that can reduce the next important uncertainty?
Different teams use frameworks such as design thinking, Double Diamond, Lean UX or their own product-development process. The labels matter less than the underlying behaviour: understand before committing, make ideas tangible, evaluate them and keep revising.
02 Stage 1: define the problem and the decision
Before recruiting participants or opening a design tool, establish what the project is trying to change. A vague brief such as “redesign the onboarding” describes an output. It does not explain who is struggling, what they are trying to accomplish or why the work matters.
A useful starting brief records:
- the audience and context currently in scope;
- the user behaviour or outcome the team wants to understand or improve;
- known business, content, legal and technical constraints;
- existing evidence, including analytics, support themes and previous research;
- assumptions that still need validation; and
- how the team will recognise meaningful improvement.
Frame the brief tightly enough to guide research but not so tightly that it assumes the solution. “How might we help a first-time learner compare suitable course options?” leaves room for discovery. “Where should we place a comparison button?” jumps ahead.
03 Stage 2: research users and the current experience
UX research replaces confident guessing with relevant evidence. The right method depends on the question. Interviews can reveal goals, language and context. Contextual observation can expose workarounds people forget to mention. A usability study evaluates an existing experience. Analytics can show where behaviour changes at scale, while support conversations may reveal repeated confusion.
Begin with a short research plan that states the questions, relevant participants, method, session structure, data-handling approach and analysis plan. Avoid choosing a method because it is familiar or looks impressive in a case study. Our guide to UX research methods and process explains how to match methods to questions.
Good research does not ask users to design the solution for you. It investigates their goals, behaviour, environment, vocabulary and current obstacles. Designers are responsible for interpreting that evidence alongside business and technical realities.
04 Stage 3: synthesise evidence into a clear direction
Notes are not insights merely because they have been placed on a board. Synthesis means comparing observations, finding meaningful patterns, checking contradictions and explaining why a pattern matters to the design.
A disciplined synthesis might move through four levels:
- Observation: what a participant did or said in context.
- Pattern: a recurring behaviour, need or obstacle across relevant evidence.
- Insight: an explanation of the underlying tension or reason that matters.
- Opportunity: a design question or principle that gives the team direction without prescribing one interface.
Outputs can include themes, jobs or needs, journey maps, personas, problem statements and design principles. Create only the artefacts that help the team make a decision. A beautifully formatted persona built from assumptions is less useful than a plain evidence table that exposes what is known and unknown.
05 Stage 4: explore more than one solution
Once the opportunity is clear, generate alternatives before polishing a favourite. Quick sketches, task scenarios, “how might we” prompts and short critique sessions can uncover different ways to support the same need.
Separate generation from evaluation at first. If every rough idea is judged immediately, teams tend to repeat the safest familiar pattern. After exploring, compare options against user needs, project goals, accessibility, content requirements, technical feasibility and risk.
Choose a direction because it addresses the evidence and is worth testing, not because it produced the most attractive screen. Keep rejected alternatives and the reasoning behind the decision; they may become relevant when constraints or findings change.
06 Stage 5: structure the information and task flow
Before designing detailed screens, define what information and actions the experience needs. Information architecture organises and labels content so people can find and understand it. A user flow maps the steps, decisions, inputs and system responses involved in completing a task.
For a course-enquiry experience, the team might map how a prospective learner moves from an unfamiliar course list to comparison, course details and a relevant enquiry. The flow should include more than the happy path: unclear eligibility, missing information, validation errors and a return visit can all change what the interface must support.
Our comparison of user journeys and user flows can help you decide whether you need a broad view of the experience over time or a detailed task-level sequence.
07 Stage 6: create low-fidelity wireframes
Wireframes translate the structure into screens without requiring finished visual design. They clarify content priority, headings, actions, navigation, inputs and system states. Because they are quick to change, wireframes are useful for discussing the logic before visual detail makes a weak idea feel more complete than it is.
A useful wireframe should show enough real content to evaluate the hierarchy. Rows of identical placeholder lines hide difficult questions: Which details help a user compare options? How long can a title be? What does an error explain? What happens when no results match?
Start with the critical path and its important states. Review the wireframes against the original need, flow, accessibility expectations and content requirements. Then revise before increasing fidelity.
08 Stage 7: build a prototype for a specific question
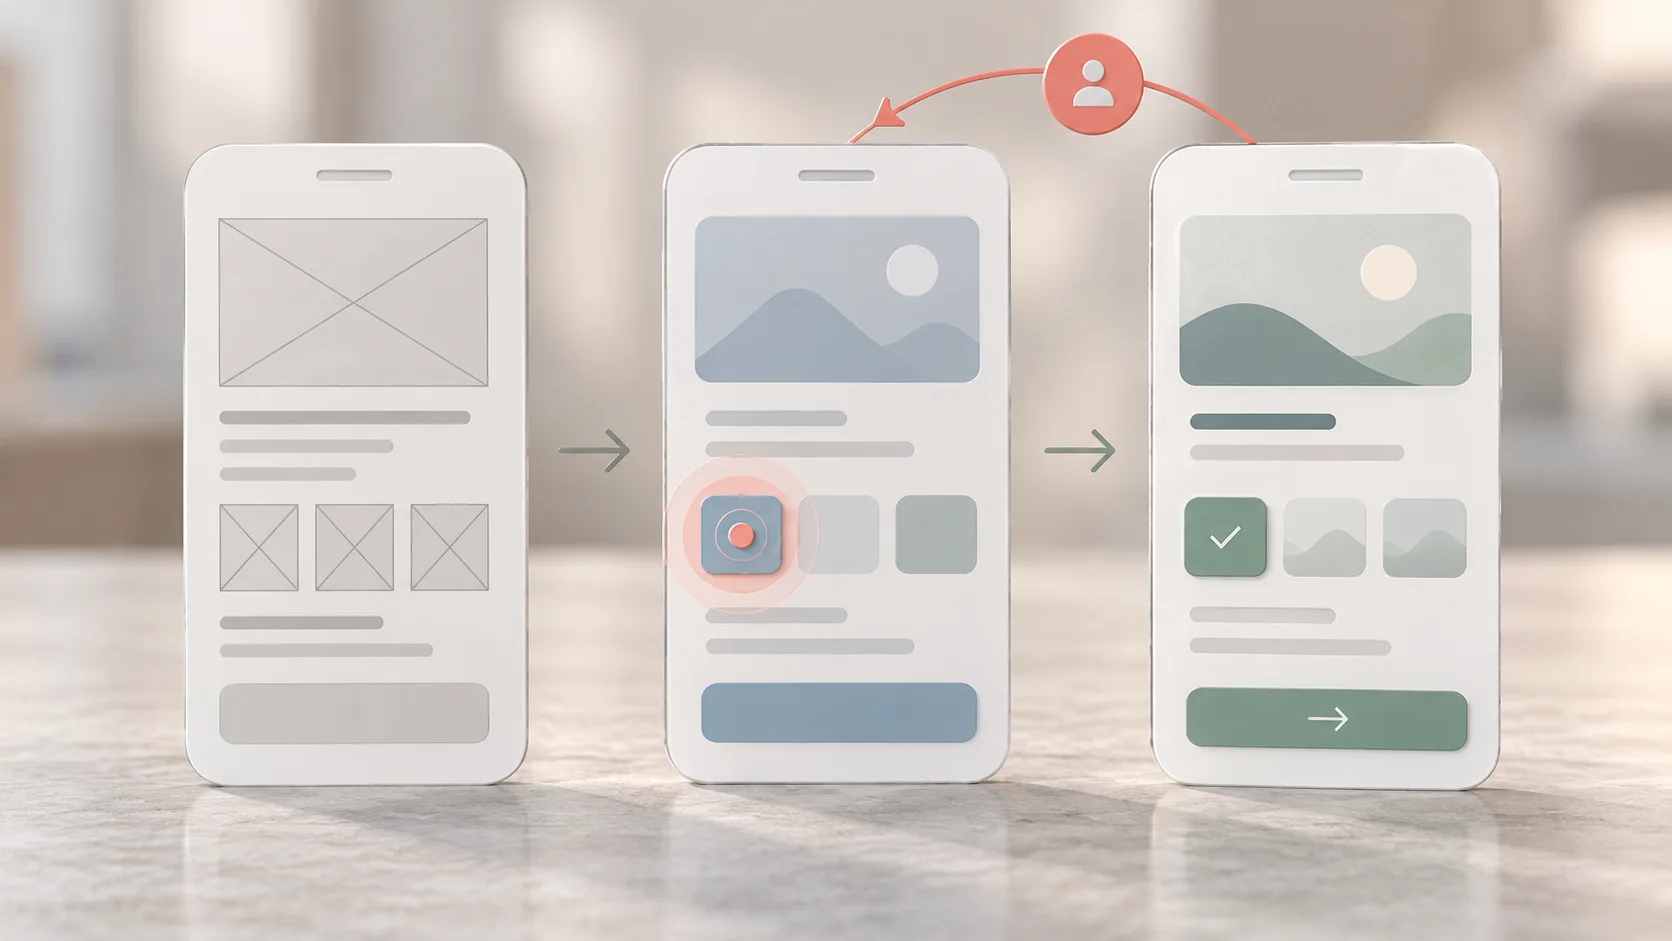
A prototype is a simulation of an experience. It may be a set of linked paper sketches, a clickable low-fidelity flow or a visually refined interactive model. Fidelity should match the question.
- Use a rough prototype to test sequence, terminology and the overall concept.
- Use a more detailed prototype when visual hierarchy, content, interaction behaviour or trust depends on realistic presentation.
- Prototype only the paths and states needed for the evaluation; a test model does not need to imitate the entire product.
Define the question before connecting screens. “Can a new learner identify a suitable course and understand the next step?” is testable. “Do users like the prototype?” is too vague to guide design decisions.
09 Stage 8: test the experience and iterate
In a usability test, representative participants attempt realistic tasks while the team observes where the design supports or obstructs them. The goal is not to prove that the concept works. It is to learn which parts work, which do not and why.
Use neutral task prompts. Ask participants to think aloud when appropriate, but prioritise what they do over what they predict they might do. Record behaviours, errors, uncertainty, comments and successful recovery. After the sessions, group findings by cause and severity rather than producing a list of every remark.
Then change the design and test again. A failed task may point to a label, hierarchy, missing piece of content, interaction or even the original problem framing. Fixing the visible screen without diagnosing the cause can simply move the problem elsewhere.
10 What happens after a validated prototype?
A prototype is not the finished product. Designers still need to work with content specialists and developers, document important behaviour, cover responsive states, check accessibility and review the implemented experience.
A useful handoff communicates intent, not only measurements. Include the user need, approved flow, content, component behaviour, validation, loading and error states, responsive rules and open questions. Stay involved during implementation because technical discoveries often require design choices.
After release, continue learning from product data, support issues, accessibility feedback and further research. The shipped experience becomes the next version of the “current experience” that the process can improve.
11 Common UX process mistakes
- Starting with screens: visual progress can hide the absence of a clear problem or audience.
- Collecting research without a decision in mind: broad learning is hard to prioritise and easy to ignore.
- Treating artefacts as outcomes: the number of personas, maps or wireframes does not prove that the experience improved.
- Following the process rigidly: not every project needs every method, workshop or deliverable.
- Exploring only one idea: refinement cannot rescue a weak underlying approach.
- Testing too late: the team becomes attached to polished work and changes become expensive.
- Using placeholder content throughout: unrealistic copy hides hierarchy, comprehension and edge-case problems.
- Ending at handoff: UX quality depends on implementation and what is learned after release.
12 A beginner project to practise the full process
Choose a small, ethical problem you can research without handling sensitive information. For example, you could help learners compare three fictional short courses. Keep the scope narrow enough to complete one task flow.
- Write the audience, initial problem, constraints and assumptions.
- Interview or observe a few relevant people about how they currently compare learning options.
- Group the evidence, identify patterns and write one focused opportunity statement.
- Sketch at least three approaches and explain which one you will test.
- Map the information structure and a flow for comparison and enquiry.
- Create wireframes with realistic course information and key states.
- Connect the critical path into a prototype.
- Run short usability sessions, prioritise findings and revise the prototype.
- Present the evidence, trade-offs and iteration, not only the final screens.
This produces a stronger learning project because it shows how your decisions developed. The ability to explain what changed and why is central to UX work.
13 The best UX process makes uncertainty visible
The UX design process is not valuable because it guarantees a perfect answer. It is valuable because it prevents important decisions from being hidden inside taste, habit or urgency. It gives a team a repeatable way to frame the problem, gather evidence, explore options and test the experience before and after release.
As a beginner, focus less on memorising stage names and more on the connection between them. Research should change how you frame the opportunity. The opportunity should guide the flow and wireframes. The prototype should answer a question. Testing should change the design.
Want to practise the UX design process as one connected workflow? Explore Zolve Academy's Professional UI/UX Design & AI-Powered Workflow Program, review the curriculum and use the course enquiry option to discuss your starting point and project goals.
FAQ
Common questions about The UX Design Process Explained: From User Research to Prototype
A quick summary of the most common questions readers have about this topic.
A practical UX design process usually includes defining the problem, researching users and context, synthesising evidence, framing opportunities, exploring ideas, mapping structure and flows, creating wireframes, building a prototype, testing it and iterating. Teams may name or combine these stages differently, and learning often sends the work back to an earlier stage.
No. A diagram may show a sequence, but real UX work is iterative. A prototype test can expose a weak user flow, a design question can reveal missing research and technical constraints can change an idea. The process should provide direction without preventing the team from revisiting assumptions.
Start by clarifying the problem, users, goals and current evidence. Some lightweight sketches may help the team discuss assumptions, but detailed wireframes should not be treated as solutions before the team understands the user need and context well enough to make informed decisions.
A wireframe describes the structure and priority of content, controls and navigation on a screen. A prototype connects screens or states to simulate an experience. A prototype can be low fidelity or visually refined; what matters is that it is realistic enough to answer the question being tested.
There is no standard duration. A small feature may use a focused process over days, while a complex service may require multiple research and design cycles over months. Scope the work around risk, evidence, available time and the decisions the team needs to make rather than applying every method to every project.